Walkthrough: Plotting a function
(15 minutes)
Let’s plot a simple function. Start ROOT and type the following at the prompt:1
[] TF1 f1("func1","sin(x)/x",0,10)
[] f1.Draw()
Note
Note the use of C++ syntax to invoke ROOT commands.2 ROOT may help you out with context-based colors for the keywords it recognizes.
In C++ notation, the first command says: Create an object (“f1”) that is a TF1 (we’ll get to what that is in a moment) with some properties (name, function, low range, high range). The second command tells f1 to draw itself.
When you type in the first command, you may see something like
(TF1 &) Name: func1 Title: sin(x)/x
Don’t worry about this. It’s not an error.3
If you have a keen memory (or you type .help on the ROOT command
line), you’ll see that neither TF1 nor any of its methods are
listed as commands. The only place that the complete ROOT functionality
is documented is on the ROOT web site.4
Go to the ROOT web site at
https://root.cern/ (I suggest
you bookmark this site5), click on Reference, then on All Classes on the left-hand side, then on TF1; you may want to use
the browser menu and search on TF1 to locate that
link.6 Scroll down the page; you’ll see some documentation and
examples, the class methods, then method descriptions.
Note
Get to know your way around this web site. You’ll come back often.
Also note that when you executed f1.Draw() ROOT created a canvas for
you named c1. “Canvas” is ROOT’s term for a window that contains
ROOT graphics; everything ROOT draws must be inside a canvas.7
Bring window c1 to the front by left-clicking on it. As you move the
mouse over different parts of the drawing (the function, the axes, the
graph label, the plot edges) note how the shape of the mouse changes.
Right-click the mouse on different parts of the graph and see how the
pop-up menu changes.
Position the mouse over the function itself (it will turn into a pointing finger or an arrow). Right-click the mouse and select SetRange. Set the range to xmin=-10, xmax=10, and click OK. Observe how the graph changes.8\(^,\)9
Let’s get into a good habit by labeling our axes. Right-click on the
x-axis of the plot, select SetTitle, enter “x [radians]”, and
click OK.
Note
Right-clicking on the axis title gives you a TCanvas pop-up, not a text
pop-up; it’s as if the title wasn’t there. Only if you right-click on
the axis can you affect the title. In object-oriented terms, the title
and its centering are a property of the axis.
It’s a good practice to always label the axes of your plots. Don’t forget to include the units.
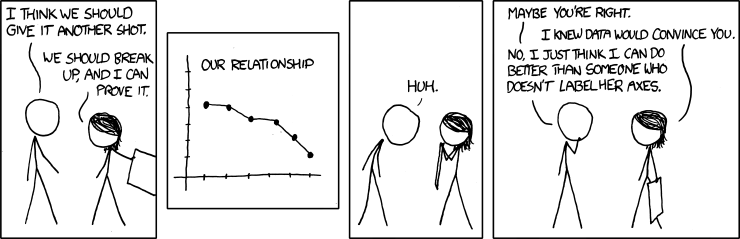
Figure 7: https://xkcd.com/833/ by Randall Munroe
Do the same thing with the y-axis; call it “sin(x)/x”. Select the RotateTitle property of the y-axis and see what happens.
You can zoom in on an axis interactively. Left-click on the number “2” on the x-axis, and drag to the number “4”. The graph will expand its view. You can zoom in as much as you like. When you’ve finished, right-click on the axis and select UnZoom.
You have a lot of control over how this plot is displayed. Select . Play around with this a bit. Click on different parts of the graph; notice how the options automatically change.
Select ; among other options, you can see how you can
draw more objects on the plot. There’s no simple Undo command, as
there might be in a dedicated graphics program, but you can usually
right-click on an object and select Delete from the pop-up menu.
If you want to change the color of the function, right-click on the
function and select SetLineAttributes.
Note
If you “ruin” your plot, you can always quit ROOT and start it again. We’re not going to work with this plot in the future anyway.
You may notice Help menus and icons that appear to offer explanations, like ?. They worked in earlier versions of ROOT. Unfortunately, at some point in the last few years these links stopped working, probably due to a reorganization of the ROOT web site. Maybe the ROOT developers will fix this someday, but probably not: It’s just as easy to do a web search of the form “cern root axis SetRange”.
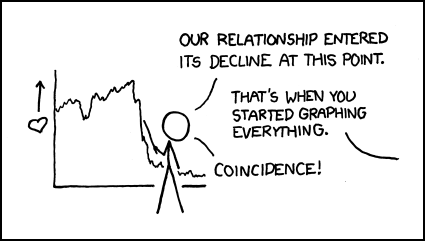
Figure 8: https://xkcd.com/523/ by Randall Munroe. If you have a choice, ruin the plot. Don’t let the plot ruin you.
- 1
I’m starting with “basic” ROOT, which has a command syntax based on C++. For Python users, we’ll explore pyroot later. For these simple examples, the ROOT commands are almost the same in both languages anyway.
- 2
I’m simplifying. ROOT doesn’t use a C++ compiler, but an interpreter called “cling” that duplicates most of the C++ language specification. It’s meant to provide an interactive experience similar to Python.
- 3
If it’s not an error, what is it? ROOT is printing out the type (TF1 &) and information about the object you’ve just created. When you become more familiar with programming, you’ll see that ROOT is printing out the result of creating the TF1 object, in the same way it would print the result if you typed 2+3.
- 4
If you remember the output from when you typed
.help, you may be tempted to try.help TF1. Don’t bother. What will happen is that ROOT will start up a web browser to take you to the TF1 page on the ROOT web site.This may sound convenient, and it can be… if you’re running ROOT directly on your laptop. However, if you’re running ROOT on a remote server (as I recommend), it will start up the web browser on the remote server. Your screen will lock up for a couple of minutes as it pushes the web browser graphics from the server to your screen, and the resultant browser window will be slow and laggy.
- 5
I suggest you also bookmark the location of the ROOT User’s Guide. It’s a trifle out-of-date (and hard to find on the ROOT web site), but it’s a useful supplement to this tutorial. Here’s more on ROOT’s documentation.
- 6
Assuming that ROOT hasn’t reorganized their web site (which they do periodically) since I last reviewed this tutorial, here are the links to ROOT’s list of classes and to the description of the TF1 class.
- 7
I’m simplifying again. The actual rule is that everything ROOT draws must be inside a “
TPad”. Unless you want to add graphics widgets to a window (e.g., buttons and menus), this distinction won’t matter to you.- 8
Did you get something funky instead? You probably right-clicked on the axis, not the function. Quit ROOT and start from the beginning. Question: Why did the graph change in such an unexpected way? For the answer, locate the description of the
TAxisclass on the ROOT web site and look at theSetRangemethod within that class.- 9
Note that ROOT handles the case where x=0 correctly. If you’re a math major, this may make you think. What happens if you plot cos(x)/x? tan(x)/x?