Repository
My lies are exposed
I’ll come clean: On the previous couple of pages, I presented the commands as if I was using git solely as a way of tracking my own files in my own project.
You can use git in this way.1 But that’s not the way you’re going to use it when you work with a scientific research group.
The truth is that you’re going to use git with a repository of some sort:
It may be that your files will be fairly independent with respect to others in your working group. In that case, you’ll probably be asked, at the end of the summer, to upload your files to a central git repository so that others can access what you’ve done.
It’s more likely that you’ll be asked to work with files that someone else has written. You’ll copy the files to your own area, and perhaps create one or more branches for your work. At some point, after testing and review, you might be asked to merge your work back into the original project.
The idea behind a git “repository” is that, in addition to maintaining the files in your own directory, there is some remote location (a different directory, a different computer, a different site) that also maintains a copy of the files.
When you’re working with git, files are only committed when you issue
a command (git commit). When you’re working with a repository, it
only receives an updated version of your committed files when you
issue a specific command (normally git push, which I’ll discuss
below).
Where will this remote location / repository be? It’s not hard to set up a remote git repository on any system.2
It’s more common these days to use a service that provides a web-based interface over what what “vanilla” git offers. The one I use is Codeberg.3
As a practical matter, your working group will tell you which remote repository location to use and instructions for how to access them. I’ll be generic and use the words “central git repository”.
Setup
The initial steps are:
Set up an account. I’ll point you to the Codeberg method, but all these services have a similar procedure.
Set up git. Git is already installed on every system of the Nevis particle-physics Linux cluster, so if you’re at Nevis you can ignore this step. Again, I’ll point you to the Codeberg instructions. The git program on your computer doesn’t care which repository you’re going to use, so any installation method will be fine.
I find it’s easier to set up a repository connection using SSH.4 Once more, I’ll use the Codeberg procedure as a reference, and again this is pretty much the same for any other repository managed by web-based git software such as Forgejo.
Creating a new repository
Let’s assume that you’ve got your files in a directory. You’ve used git init to set up git to manage the files in that directory.5
You’ll want to define the remote repository using its web interface. You’ve probably guessed that I’ll point you to how it’s done on Codeberg, and you’ve deduced that the only significant difference between sites is exactly where “Create new repository” is located on their web page.
The next step is to tell git on your computer that there’a remote repository associated with the contents of your local directory. Since I use Codeberg as my central repository location, and I use SSH to access it, this is how it looks for me:
git remote add origin ssh://git@codeberg.org/OWNER/REPOSITORY.git
OWNERwill be your account name on the remote repository.REPOSITORYwill be the name of repository you created on the web interface.
The name origin can be any alias. However, origin is standard and
I suggest that you stick with it.
To send the current git “state” (up to your most recent git commit)
to the remote repository, use git
push:
git push origin main
Note that this assumes that you used a couple of defaults:
originfor the alias for the remote repository;mainfor the default branch name.
Downloading an existing repository
As I noted above, this is the more likely case: Your working group has an established repository of files. They want you to copy this to your own area to work on it.
They’ll probably provide you with the necessary commands to do this. In case they haven’t, here are some generic instructions:
Clone the repository. Assuming that you’ve set up an SSH key as I recommended above, the command might look something like this (up to a choice of remote location):
git clone git@codeberg.org:OWNER/REPOSITORY.git
This will create a directory in your area whose name is “REPOSITORY”. You do not create that directory in advance;
git clonewill create it for you.Note that the text
OWNERandREPOSITORYin the above command are examples. Your working group has to tell you what these names are.Go into that directory. Assuming that the directory has the naive name of
REPOSITORY:cd REPOSITORY
Bring the contents of that directory up-to-date with the remote repository, including all branches and tags:
git fetch
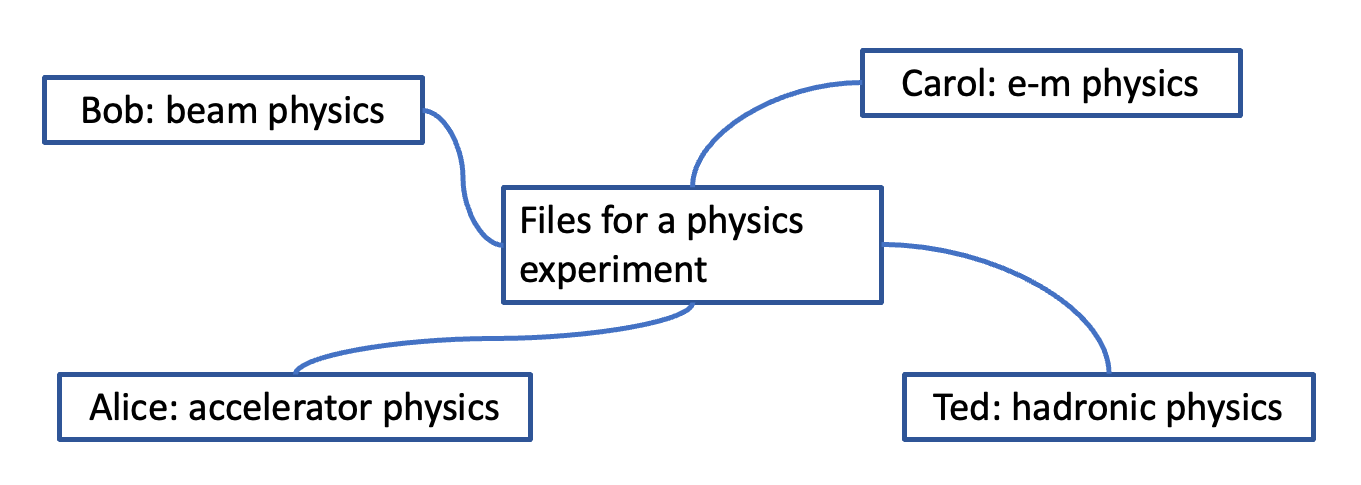
Figure 138: Here’s a sketch of what a physics software development environment might look like. A group of physicists are all working from the same code base. Perhaps they’re each creating their own branches as they work on their areas of expertise. At some point they’ll coordinate with each other (larger experiments have a software manager) to merge their work into the code in the central repository.
More fun with branches
Why would you want to use git fetch to synchronize all the branches
from the remote repository?
Many groups want you to make changes in a separate branch from the
main one. A common name for this branch is develop, but your working
group may have a different standard.
To switch to working with a branch named develop:
git checkout develop
You can simply work (and git commit) changes within that branch. You
can even create your own branch-within-a-branch if that turns out to
be practical for your work:
git commit -a -m "Save any commits I've made to the 'develop' branch"
git branch my_own_work
git checkout my_own_work

# Do whatever it is you'd like to do.
git commit -a -m "Commit the changes I made to 'my_own_work'"

# When it's ready and your working group approves:
git checkout develop
git merge my_own_work
If you’re going to push your work to the repository, make sure you’re pushing it to the correct remote branch; e.g.,
git push origin develop
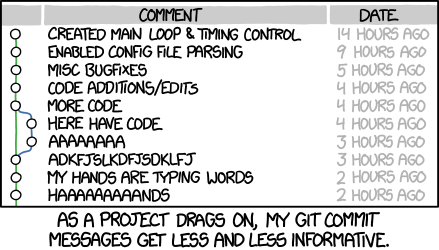
Figure 139: https://xkcd.com/1296/ by Randall Munroe
- 1
In fact, that’s how I use git to manage the files used to generate the web pages for this tutorial. As of 2025, I’ve not chosen to put the “source” code of these pages (what you see if you click “View page source” in the upper right) onto a central repository.
- 2
As proof of that statement, I’ve done it!
- 3
Editorial: I’m writing these words in 2026. At this time, the most commonly-used central git repository is GitHub.
My feelings on GitHub are decidedly mixed. On the one hand, GitHub is a free and convenient organizational tool for the kinds of projects that we see in the sciences. On the other hand, GitHub is owned by Microsoft, which almost certainly uses its content to train LLMs (remember my rant about LLMs?) and is seeking other ways to monetize this repository.
I’ve “shopped around” for a different public repository service that has a well-developed web interface to git functions. I looked at Sourceforge and Gitlab. Like GitHub, these source-code hosting services need to have some kind of revenue stream. That requirement doesn’t always agree with the development of scientific projects.
I use Codeberg because, at least for now, it’s non-profit and community-led. A large number of developers have switched from GitHub to Codeberg and seem happy with it. I’m happy with it too.
- 4
The reason why is that I already use tools like ssh-keygen to organize SSH keys between the computer systems I manage (and I encourage you to use it with your laptop-to-Nevis ssh connections). Adding my public SSH key to a central repository was trivial for me, since I already had a private key.
- 5
It’s not a bad practice to do this in an empty directory, then use git add to include files to manage as you work on them. Some guides suggest using a command like
git add .
This adds every file in your current directory to the list managed by git. However, I suggest not doing this.
The reason is that most of us create work files, intermediate edit files, and other miscellania that we don’t want to include in a formal project release. I think it’s better to add the specific files to track than to simply “add everything and sort it out later.”