Installing ROOT on your own computer
Either you have no choice, or you’ve decided to ignore my warning. Here are various methods to install ROOT+Jupyter on your own computer. They are listed in ascending order of complexity.
It doesn’t look the same
If you install ROOT on your laptop, you may see that the displays for plots and panels like TBrowser and TTreeviewer don’t look the same as those shown in The Basics. Instead of opening X11 windows, ROOT may open displays in a different format, or within your web browser.
This is because recent versions of ROOT are shifting away from using X11 and towards display methods that are more likely to be common on laptops.
That’s fine if you’re using ROOT directly on a system. However, the Nevis ROOT resources are oriented around running ROOT on a remote system via ssh from your laptop. In that case, ROOT’s Qt-based and web-based displays may show unpredictable results; for example, they may start a web browser on the remote system instead of your laptop.
The “official” solution for this involves using ssh to port-forward
ROOT’s web-based graphics to your local browser with a utility
called rootssh (undocumented as of May-2026). I think this procedure
is too complex for this tutorial.
My solution at Nevis is to include these lines in the system-wide
system.rootrc file; you could also put them into a local
~/.rootrc file:
Browser.Name:    ROOT::TRootBrowser
TreeViewer.Name: TTreeViewer
This has ROOT using the older X11-based display methods.
If any of this seemed cryptic to you, either:
hold off on installing ROOT on your laptop and use the Nevis installations for now;
install ROOT on your laptop, and accept there may be differences between the tutorial and your laptop installation.
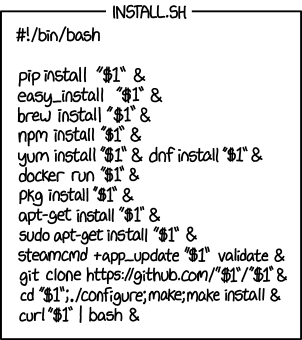
Figure 80: https://xkcd.com/1654/ by Randall Munroe.